
前端Markdown渲染(In React)
共 5666字,需浏览 12分钟
· 2023-09-15
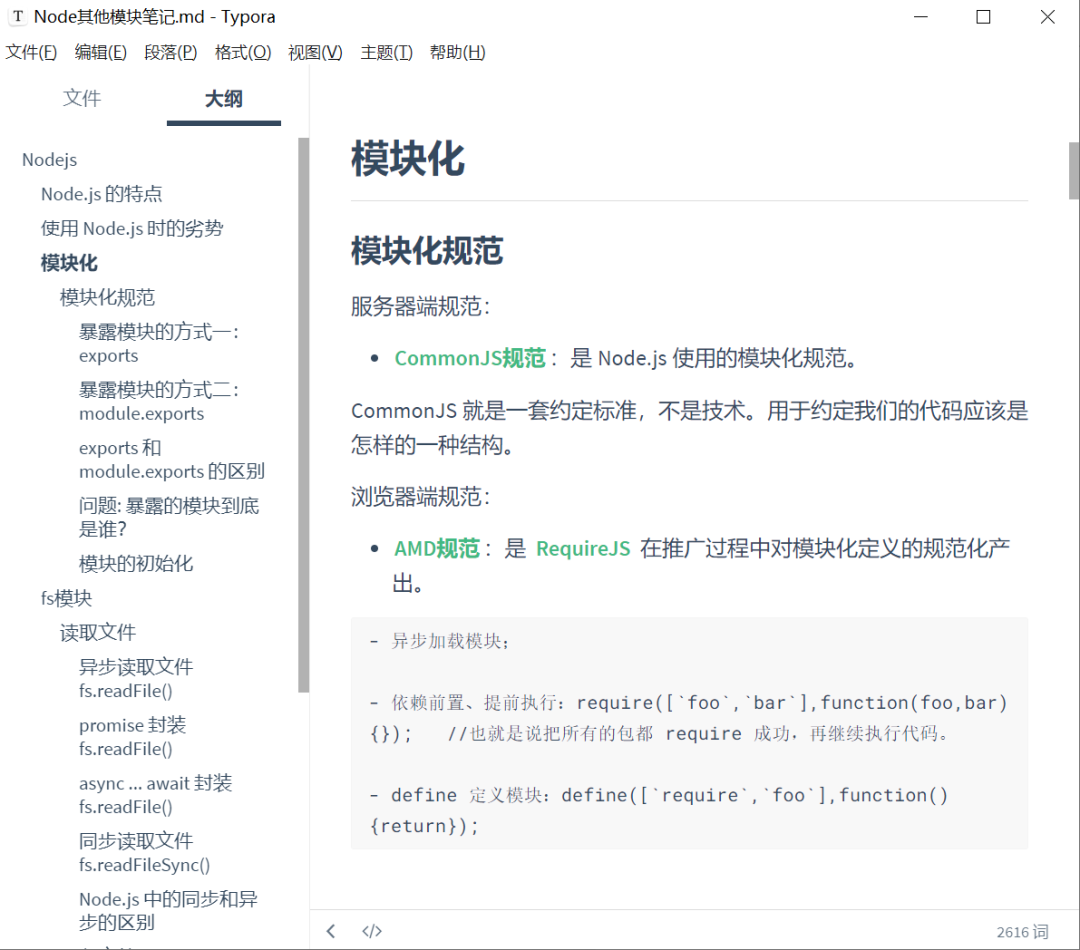 其实Typora是将markdown语法编译成为了HTML,然后展现了出来,比如单个#号编译为了H1标签。
掘金和CSDN这类网页也提供了markdown写作的功能。那么前端如何做一个markdown的富文本编辑器并且呈现实时预览呢?
一套简单的技术栈是:marked.js实现markdown文本转HTML,highlight.js对代码进行高亮。
但是如果你是一名React选手,那么你可以使用:
-
富文本编辑以及预览:md-editor-rt -
markdown文本解析:react-markdown -
使markdown支持HTML语法:rehype-raw -
划线、表、任务列表和直接url等的语法扩展:remark-gfm -
代码高亮:react-syntax-highlighter -
目录提取与跳转:markdown-navbar
没错,我就是组件小子

下面来体验一下React的强大生态。
md-editor-rt富文本编辑器
下载
yarn add md-editor-rt
在React Hooks中,只需要非常简单的引入,使用useState配合Editor的两个API,就可以实现输入markdown并且实时渲染。
import React, { useState } from 'react';
// 导入组件
import Editor from 'md-editor-rt';
// 引入样式
import 'md-editor-rt/lib/style.css';

export default function Md() {
  const [text, setText] = useState('hello md-editor-rt!');
  return <Editor modelValue={text} onChange={setText} />;
}
并且md-editor-rt自带了Toolbar,也就是编辑框上方的辅助栏,可以帮助用户更好的编辑。
React-markdown的渲染
上面说的是markdown编辑器以及渲染,如果后端传来了一个markdown文本,我们需要把它渲染到网页上,就像我们点进CSDN和掘金看文章,这时候需要对markdown做一个渲染,就可以用到react-markdown。下载
yarn add react-markdown
只需要把markdown的文本放到ReactMarkdown双标签的组件就可以啦
import ReactMarkdown from "react-markdown";
<ReactMarkdown># Hello, *World*!</ReactMarkdown>
 上方的Hello World!被解析为了一个h1标签。如果是单标签的话,我们可以把markdown的文本传入
children参数中。
import ReactMarkdown from "react-markdown";
<ReactMarkdown children={markdownText} />
引入插件支持
react-markdown并不支持所有的Markdown语法,但是我们可以使用插件来添加对这些语法的支持。
-
remake-plugin增加了对脚注、划线、表、任务列表、自动链接文字或直接url的支持 -
rehype-raw增加了对HTML原生语法的支持
import gfm from "remark-gfm";
import rehypeRaw from 'rehype-raw';
import gfm from 'remark-gfm';
<ReactMarkdown
  children={text}
  rehypePlugins={[rehypeRaw]}
  remarkPlugins={[gfm]}
/>
react-syntax-highlighter
markdown中代码会转为code标签,但是HTML中对code其实没有很好的样式支持,所以我们需要额外的组件进行代码高亮。
我们可以定义一个组件(component),加入到react-markdown中。
import gfm from "remark-gfm";
import rehypeRaw from 'rehype-raw';
import gfm from 'remark-gfm';
<ReactMarkdown
  children={text}
  rehypePlugins={[rehypeRaw]}
  remarkPlugins={[gfm]}
  components={CodeBlock}
/>
其中CodeBlock是我们定义的插件。
首先,我们导入react-syntax-highlighter和一个代码主题,这里是atomDark,你也可以选择别的主题。
import { Prism as SyntaxHighlighter } from 'react-syntax-highlighter';
import { atomDark } from 'react-syntax-highlighter/dist/esm/styles/prism';

const CodeBlock = {
  code({ node, inline, className, children, ...props }) {
    const match = /language-(\w+)/.exec(className || '');
    return !inline && match ? (
      <SyntaxHighlighter
        children={String(children).replace(/\n$/, '')}
        style={atomDark} // theme
        language={match[1].toLowerCase()}
        PreTag="section" // parent tag
        {...props}
      />
    ) : (
      <code className={className} {...props}>
        {children}
      </code>
    );
  },
};
下面的这一串code({ node, inline, className, children, ...props }) 可以看成是模板(因为我也不太能看得懂),但是后面的代码其实比较容易理解。
这里的match其实是抽取了代码块的代码语言,match[1]的位置其实就是指定的语言,这里一个踩坑的点:最好把字符串小写化。因为用户可能输入的是Java,但是SyntaxHighlighter其实只能识别java,所以会出现代码没有高亮的情况。
返回三元字符串的意思是如果语言支持,则使用SyntaxHighlighter高亮,如果不支持则直接返回code标签包裹。
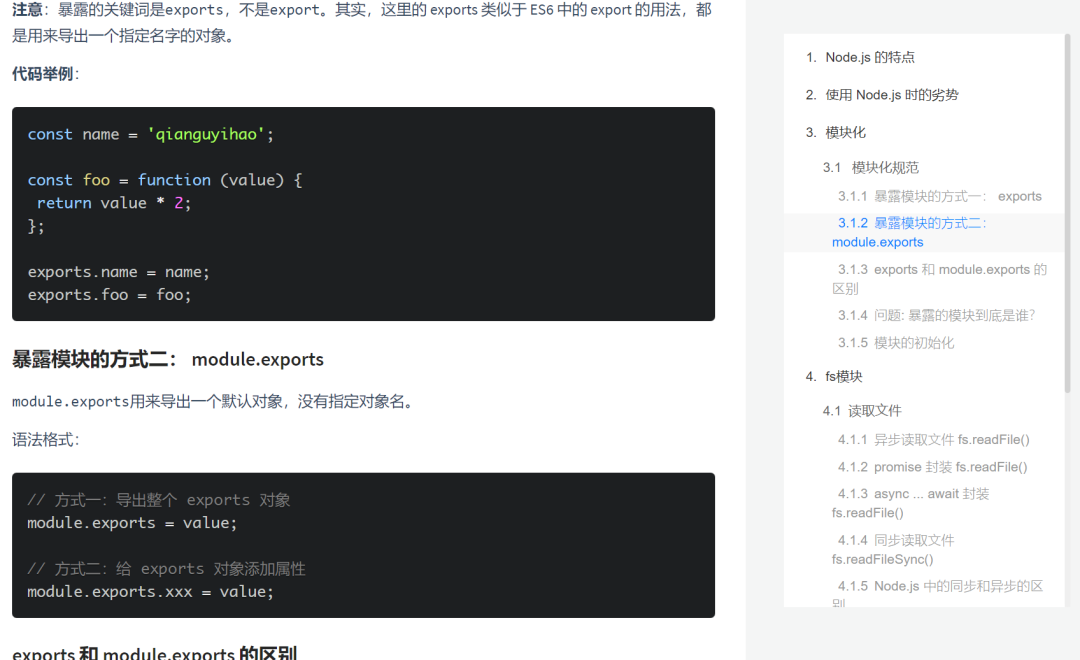
markdown-navbar目录提取
仍然是一个无脑的组件,你只需要将markdown文本传入source参数,就可以自动提取标题,并且点击标题可以实现跳转和目录高亮。
import MarkNav from 'markdown-navbar';
<MarkNav source={text} />
网页案例
好了,你现在以及会markdown的渲染操作了,去写一个博客网页的案例吧,只需要再加一点点细节。

欢迎关注这个摸鱼更新的公众号