
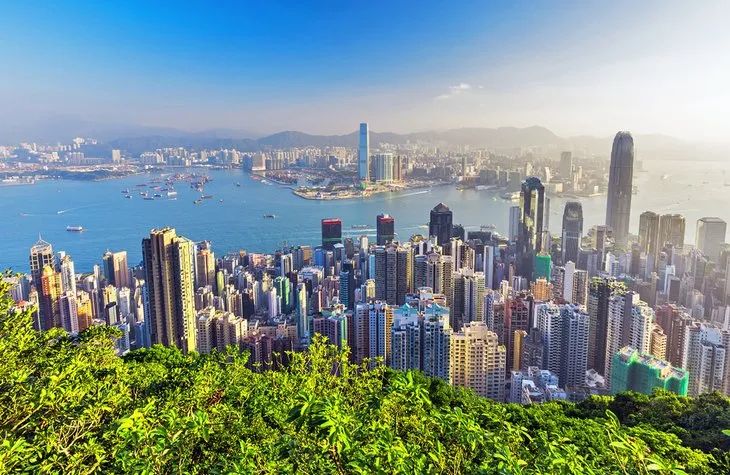
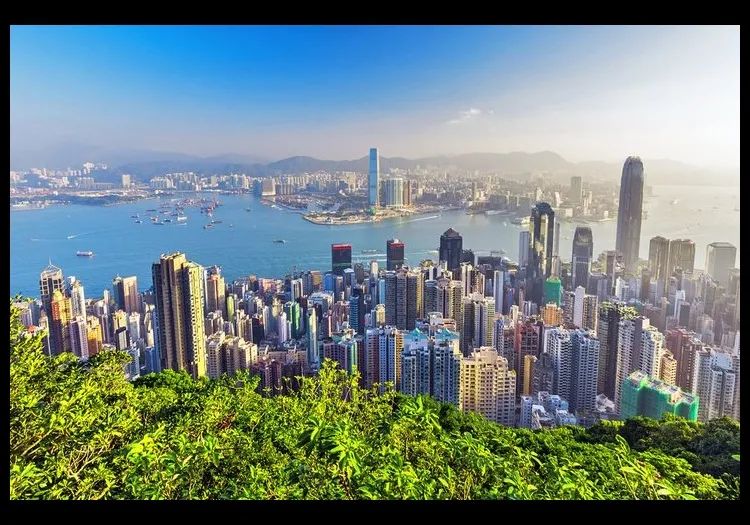
使用OpenCV在Python中进行图像操作
点击下方“AI算法与图像处理”,一起进步!
重磅干货,第一时间送达
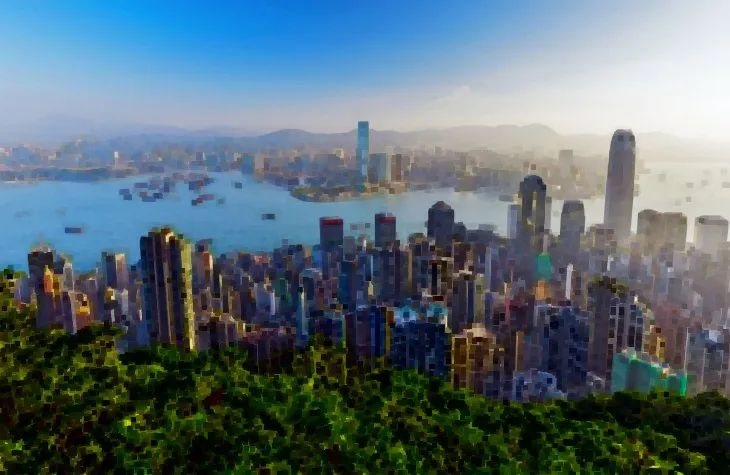
形态变换
腐蚀
import cv2
import numpy as np
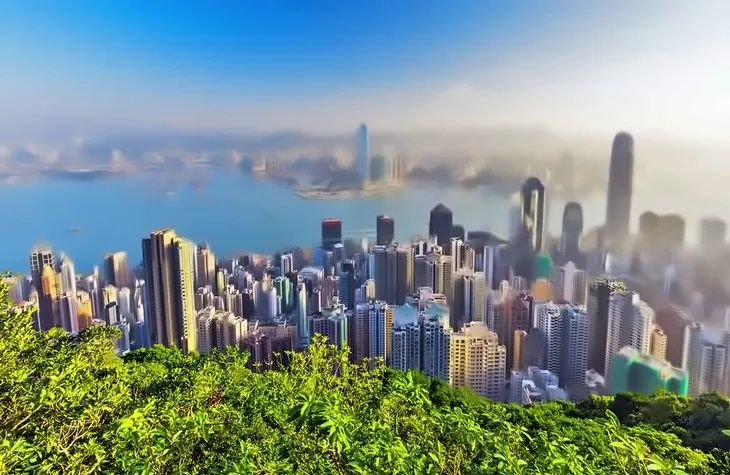
image = cv2.imread("image1.jpg")
# Creating kernel
kernel = np.ones((5, 5), np.uint8)
# Using cv2.erode() method
image_erode = cv2.erode(image, kernel)
filename = 'image_erode1.jpg'
# Using cv2.imwrite() method
# Saving the image
cv2.imwrite(filename, image_erode)
kernel2 = np.ones((3, 3), np.uint8)
image_erode2 = cv2.erode(image, kernel2, cv2.BORDER_REFLECT)
filename = 'image_erode2.jpg'
# Using cv2.imwrite() method
# Saving the image
cv2.imwrite(filename, image_erode2)
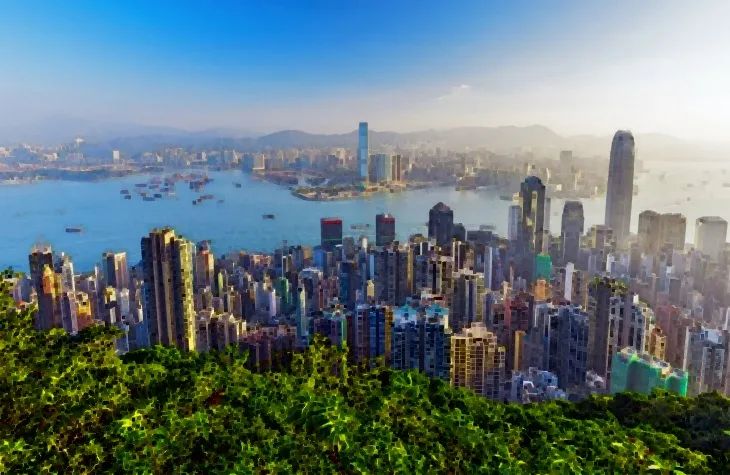
膨胀
kernel3 = np.ones((5,5), np.uint8)
image_dilation = cv2.dilate(image, kernel, iterations=1)
filename = 'image_dilation.jpg'
# Using cv2.imwrite() method
# Saving the image
cv2.imwrite(filename, image_dilation)
创建边框
## Using cv2.copyMakeBorder() method
image_border1 = cv2.copyMakeBorder(image, 25, 25, 10, 10, cv2.BORDER_CONSTANT, None, value = 0)
filename = 'image_border1.jpg'
# Using cv2.imwrite() method
# Saving the image
cv2.imwrite(filename, image_border1)
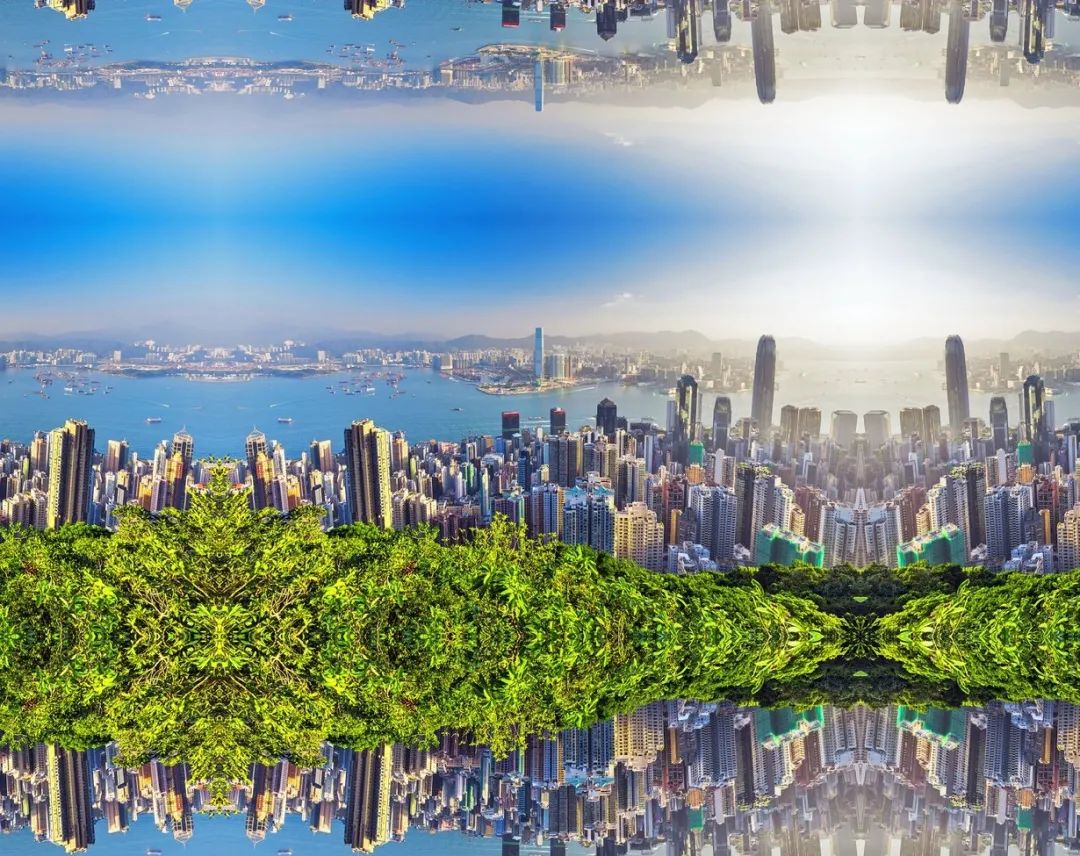
#making a mirrored border
image_border2 = cv2.copyMakeBorder(image, 250, 250, 250, 250, cv2.BORDER_REFLECT)
filename = 'image_border2.jpg'
# Using cv2.imwrite() method
# Saving the image
cv2.imwrite(filename, image_border2)
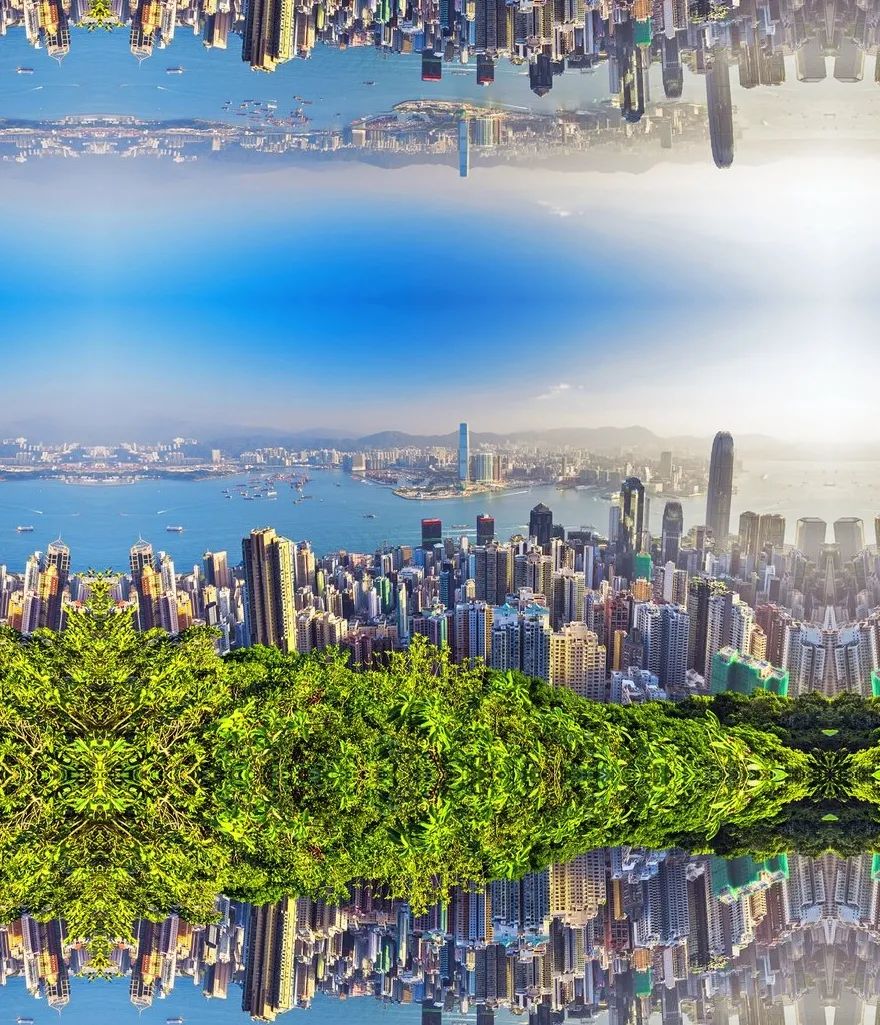
#making a mirrored border
image_border3 = cv2.copyMakeBorder(image, 300, 250, 100, 50, cv2.BORDER_REFLECT)
filename = 'image_border3.jpg'
# Using cv2.imwrite() method
# Saving the image
cv2.imwrite(filename, image_border3)
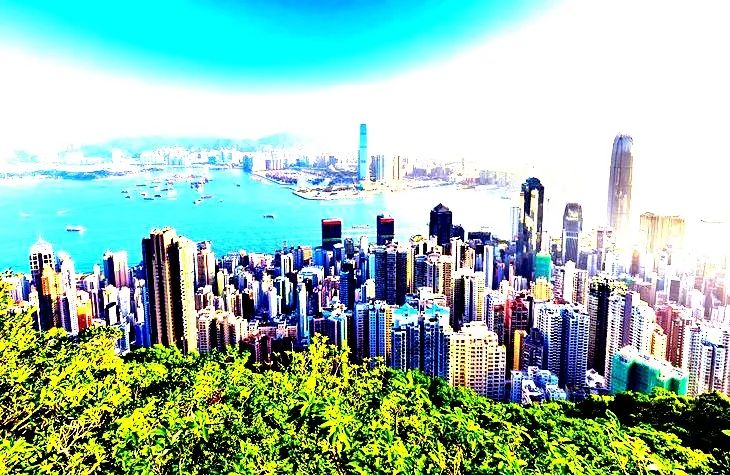
强度变换
对数变换
# Apply log transform.
c = 255/(np.log(1 + np.max(image)))
log_transformed = c * np.log(1 + image)
# Specify the data type.
log_transformed = np.array(log_transformed, dtype = np.uint8)
cv2.imwrite('log_transformed.jpg', log_transformed)

线性变换
def pixelVal(pix, r1, s1, r2, s2):
    if (0 <= pix and pix <= r1):
        return (s1 / r1)*pix
    elif (r1 < pix and pix <= r2):
        return ((s2 - s1)/(r2 - r1)) * (pix - r1) + s1
    else:
        return ((255 - s2)/(255 - r2)) * (pix - r2) + s2
# Define parameters.
r1 = 70
s1 = 0
r2 = 140
s2 = 255
# Vectorize the function to apply it to each value in the Numpy array.
pixelVal_vec = np.vectorize(pixelVal)
# Apply contrast stretching.
contrast_stretch = pixelVal_vec(image, r1, s1, r2, s2)
# Save edited image.
cv2.imwrite('contrast_stretch.jpg', contrast_stretch)
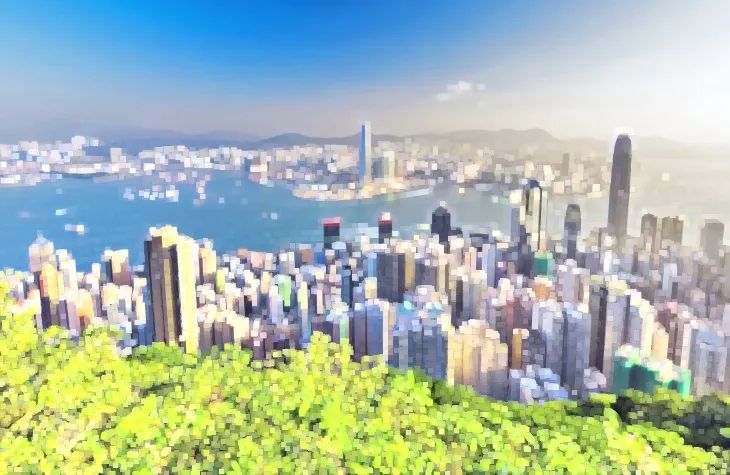
去噪彩色图像
denoised_image = cv2.fastNlMeansDenoisingColored(image, None, 15, 8, 8, 15)
# Save edited image.
cv2.imwrite('denoised_image.jpg', denoised_image)
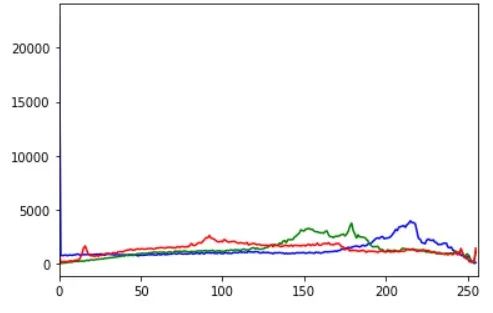
使用直方图分析图像
from matplotlib import pyplot as plt
histr = cv2.calcHist([image],[0],None,[256],[0,256])
plt.plot(histr)
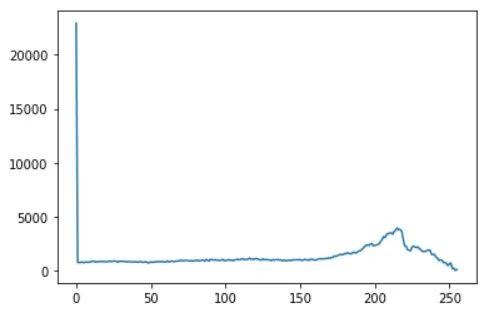
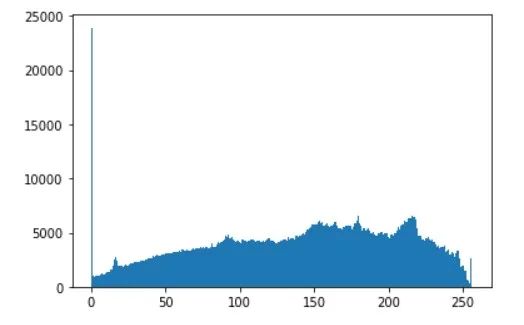
# alternative way to find histogram of an image
plt.hist(image.ravel(),256,[0,256])
plt.show()
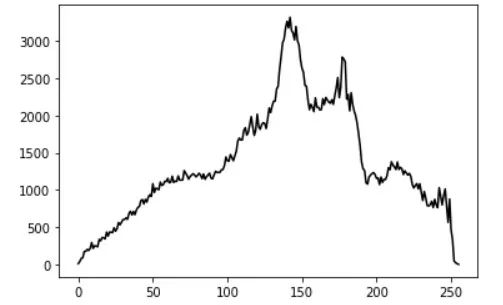
grey_image = cv2.cvtColor(image, cv2.COLOR_BGR2GRAY)
histogram = cv2.calcHist([grey_image], [0], None, [256], [0, 256])
plt.plot(histogram, color='k')
for i, col in enumerate(['b', 'g', 'r']):
    hist = cv2.calcHist([image], [i], None, [256], [0, 256])
    plt.plot(hist, color = col)
    plt.xlim([0, 256])
plt.show()
交流群
欢迎加入公众号读者群一起和同行交流,目前有美颜、三维视觉、计算摄影、检测、分割、识别、NeRF、GAN、算法竞赛等微信群
个人微信(如果没有备注不拉群!) 请注明:地区+学校/企业+研究方向+昵称
下载1:何恺明顶会分享
在「AI算法与图像处理」公众号后台回复:何恺明,即可下载。总共有6份PDF,涉及 ResNet、Mask RCNN等经典工作的总结分析
下载2:终身受益的编程指南:Google编程风格指南
在「AI算法与图像处理」公众号后台回复:c++,即可下载。历经十年考验,最权威的编程规范!
下载3 CVPR2021 在「AI算法与图像处理」公众号后台回复:CVPR,即可下载1467篇CVPR 2020论文 和 CVPR 2021 最新论文

评论